Showing posts with label moon. Show all posts
04 October 2015
I forgot to share a craft!
I'm so sorry! I completely forgot to share the craft that I created for the Samhain Sirens!
I hope you enjoy it!
http://samhainsirens.blogspot.com/2015/10/october-3-craftacular-saturday.html
14 June 2015
Litha Whimsical Plaque
Hi ho
all! Bright blessings of Litha be upon you!
I wanted to make a fun, sunshiny craft for this day. So, I
have created an easy, whimsical plaque for you to make. My moon looks like it
is totally in love with my sun.
I had fun
creating this little craft and I hope you enjoy it. I created a little summer
poem to go with this, but you can use any favorite poem for this plaque. Or don’t
use one at all. It’s all up to you because it’s your plaque.
For this
craft you will need:
Some
cardboard
A variety
of acrylic paints, your color choices
Plain
polymer clay
A wooden
plaque
E-6000
glue or shoe goo (same stuff)
I did not
wrap in aluminum foil before covering in clay. I just covered them with the
clay and they did fine during baking. I baked at 275 degrees for 20 minutes.
I didn't
make them super smooth when I added the clay. I left them a bit rough looking
to keep some character to their whimsical looks. I made the points a bit longer
on the sun and gave the some curve so make them look like flames shooting out. I
gave the moon a half face, while I didn't give the sun one at all. I’m just
going to paint the face on the sun.
After
they have baked and cooled, decide how you want to paint. I am painting a
yellow base on the sun before adding the sun. Let it dry.
When it
has dried, you can draw out a face. I want a full face for the sun, so I will use
circles to make the face.
Now, I’ll just paint it in. I’m going with an orange and red
coloring with white highlighting. Add black to define. I drybrushed most of the
colors on.
Keep
filling in the cheeks to your satisfaction. Add black to the lip and nose to
define. Add some white around the eyes and on top of cheeks.
Add orange to the eyelid and red to the eyes.
Add black to the pupils, yellow around the pupils, a white
highlight down the nose. Define the eyes
with black, drybrush some black shading. Drybrush the pupils with white for
highlighting and add eyelashes and eyebrows. Highlight the chin.
Finally, drybrush some dark orange on the points and around
the face to give it some flamy definition. Your sun is done.
Now for the moon. You only have to draw the eye really for
the moon. Paint your moon with a base of white, let dry, and draw out your eye.
Fill in the eye with a dark blue, fill in the pupil with black. While that dries, drybrush black to define the nose. Add some drybrushed blue to the cheeks to define. Blue on eyelid. Go back to the eye and add some light blue around the pupil. Line the eyes with black, put a bit of white on the lid to highlight, also add white to the cheek to create a roundness. Paint the mouth with a black line. Define with bottom lip with a bit of black.
For the plaque, use the colors that you want for a sky. Decide on your placement for the sun and moon.
After you see where they will be placed you can paint your clouds and poem on it. I made a simple little poem for the plaque.
"I will honor the day, and dance with the fae,
beneath the sun, the moon, and the stars"
Of course you don't have to use mine. Use something that makes you think of this time of year.
When you have painted your poem add some watery clouds by dipping your paintbrush in water and then into the white. Let this drip into cloud shapes. Put the clouds where your moon and sun will sit on the plaque. When your poem and clouds have dried and splatter some "stars" on the plaque. 
Place the sun and moon back on the and glue down with either e-6000 glue or Shoe goo. Shoe goo is the same thing plus you get twice as much for a fraction of the cost of e-6000.
If you plan on hanging this outside put a couple of coats of outdoor polyurethane on the entire plaque.
I hope you enjoyed this craft!
Brightest blessings,
Saga
04 October 2014
Go To The Sirens For A Craft Post
Today I'm totally making a Samhain Sirens Crafting post! If you want to learn how to make this magical spellbook keepsake box then go
HERE
06 July 2014
July Buck Moon and Antler Wand Craft
This article is part of Kallan's wonderful Sunday Stew. Please hop on over and read all the different flavors added by each chef. I know that you will love it!
The full moon will fall on July 12th, 2014 and also this moon is special because it is the first of three Supermoons that are to occur this year! To read about supermoons, go here.
This month's full moon has 3 names that it is commonly known by. They are Buck Moon, Thunder Moon, and Hay Moon. I've decided to go with the Buck Moon because I have an antler lying on one of my altars and I thought it would be fun to make a wand using it.
It was called Buck Moon by some tribes and early settlers because this is the time of year that the deer antlers are grown out and full. Antlers are deciduous, meaning that they are shed every year. Deer grow their very first set around the age of 1. Antlers are also made of bone, being composed of calcium and phosphorus. The bucks shed last year's antlers usually around sometime from January to March, when their testosterone levels drop. When the days begin to lengthen in April and the testosterone levels starts to rise the deer then start re-growth of their antlers, which grow at a rate of around a 1/4 inch to 1/2 inch per day. While the antlers grow they are covered in velvet, a brown fur. This velvet, during growth, contains a network of blood vessels and nerve endings, that supply the antlers with the nourishment they need. The antlers are sensitive during this time. In July, the rack is nicely grown and full, with the velvet shedding. By September the antlers have hardened, and there is no velvet at all. This cycle repeats every year with the antlers growing bigger each year.
Antlers have been used for many things. Native Americans used them ceremoniously and for day-to-day living tools. Now, things we make them into can include dream catchers, chandeliers, jewelry, furniture, knife handles and of course, wands.
As I said, I've had this antler for a bit, and I thought I would do something with it. I bought nothing for this craft, these were all bits and things that I had lying around. I didn't get real elaborate with it, but I do hope that it inspires you to make your own.
I also had planned on putting 3 small blue jay feathers somewhere on it, but each time that I added them, they didn't feel right with the piece, so I decided to take them away.
Okay, start with a clean, dry antler
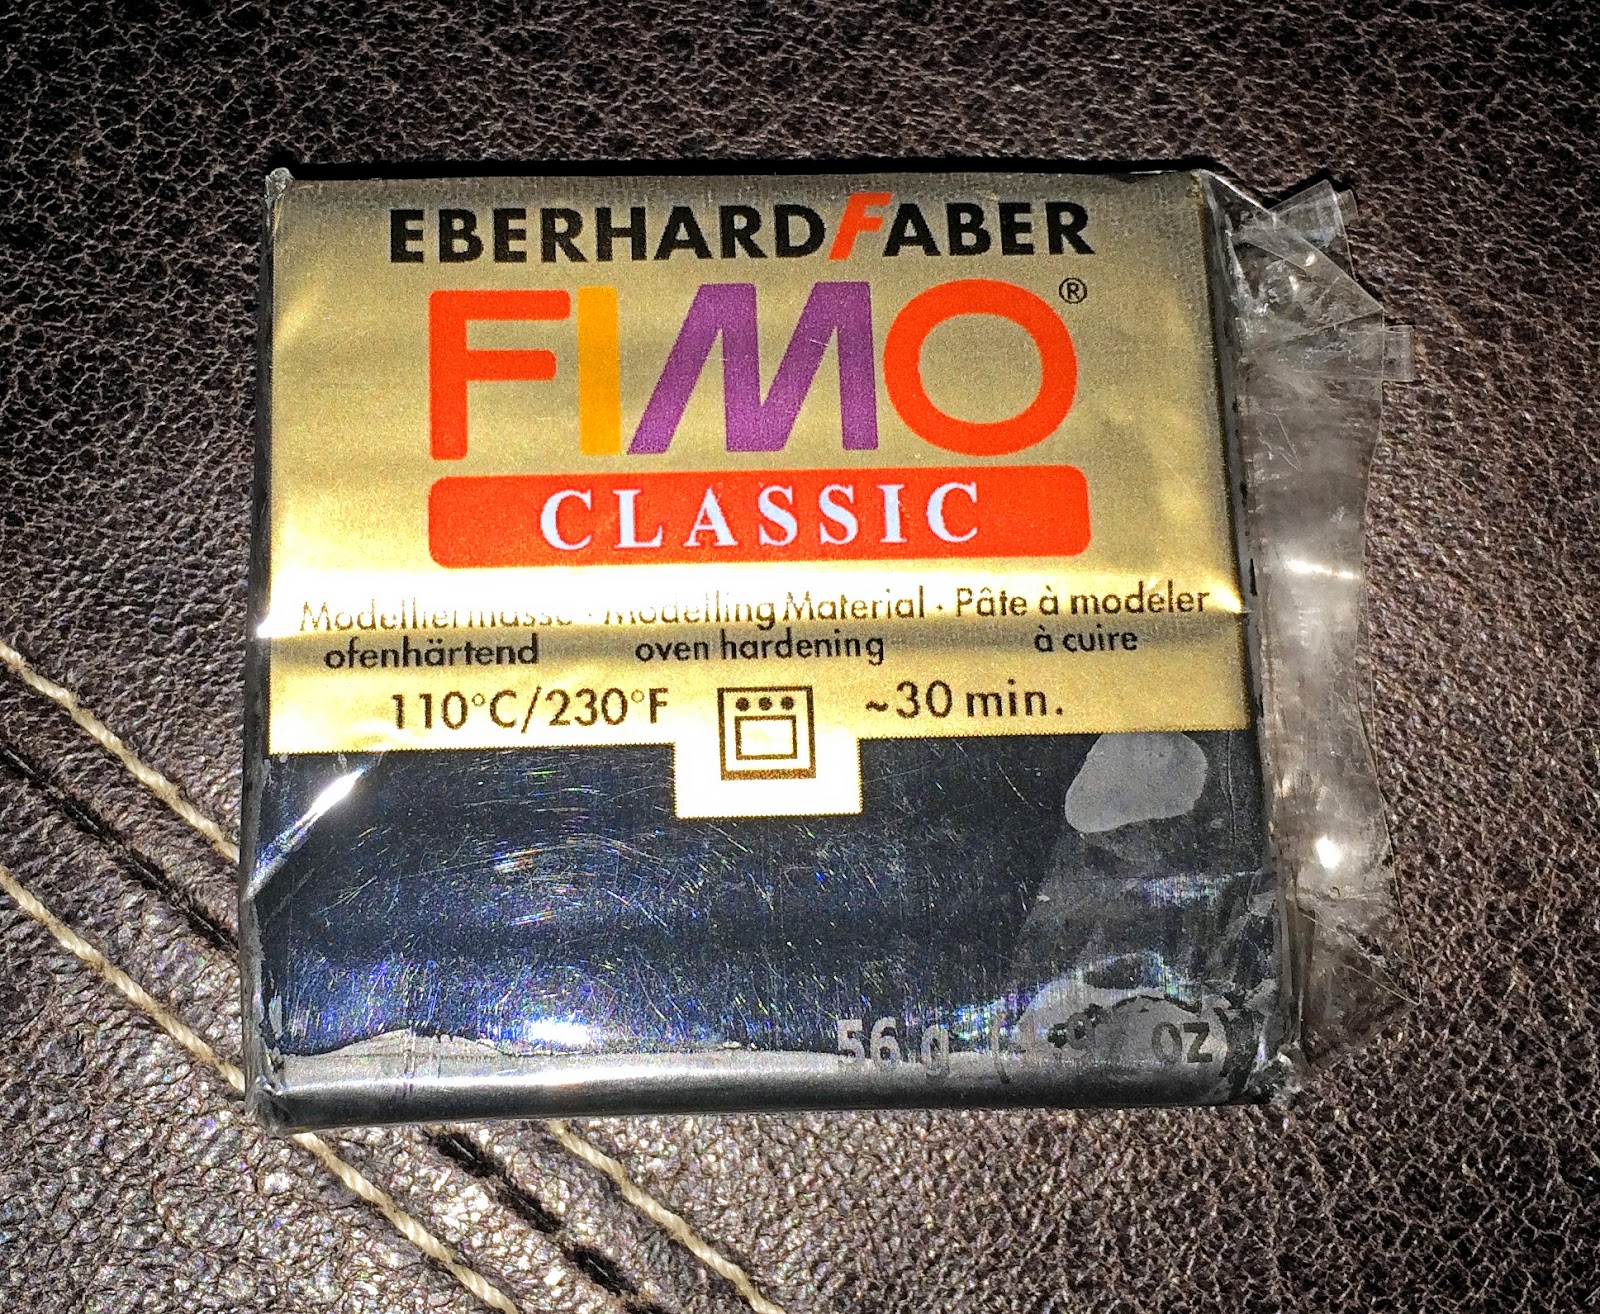
And I'm using Fimo Classic. It's a firmer clay and holds shapes well. I decided to go with black
I chose a larger quartz, it sets inside the perimeter of the antler end nicely. I then started putting the clay thinly around the end of the antler. I also covered around a quarter inch of the bottom of the crystal, holding it onto the antler.

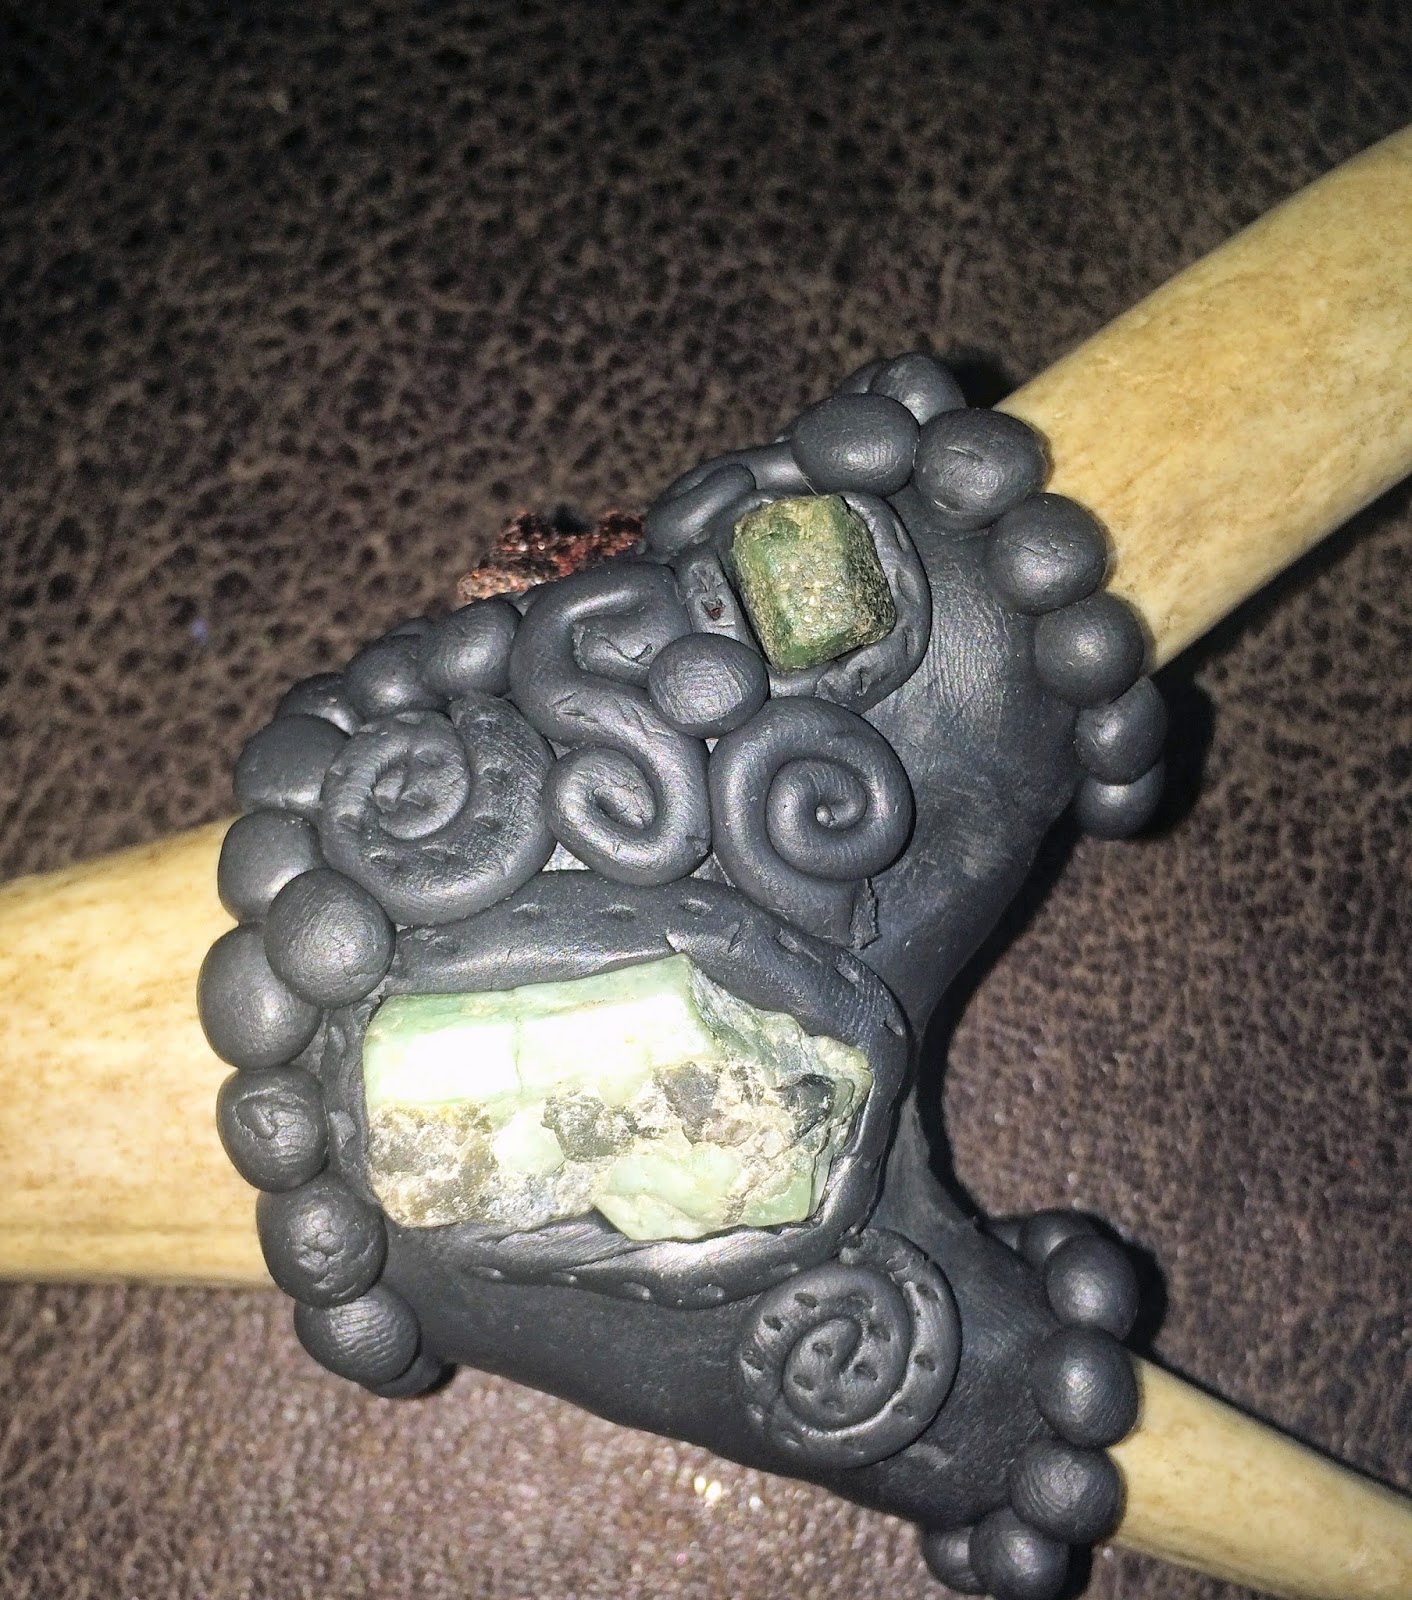
I also decided to add decoration to fork of the antler. I found a nice raw opal. I added the balls of clay to match the end, continuing with spirals and double spirals, adding chunks of garnet and prehnite.

I also had planned on putting 3 small blue jay feathers somewhere on it, but each time that I added them, they didn't feel right with the piece, so I decided to take them away.
Okay, start with a clean, dry antler
Next, I chose a small peacock ore druzy. I made an indention with my thumb on the clay and mashed the ore piece onto it, pulling the clay up around the ore.
Now I've started putting the designs on it. I rolled a piece of clay and edged the ore piece. I also rolled another piece of clay and made a double spiral.
I made little balls of clay to put around the top of the clay. I also made a flattened spiral.
I added a few more smaller stones and flattened spirals. To make them a bit more decorative I poked holes into the spiral.
Now, I just continued adding spirals, and stones all the way around, adding in a larger piece of pyrite on the back.
When you are finished adding in your details, preheat the oven to 230 degrees and leave for no longer than 30 minutes.
I wanted to give the clay a nice colorful sheen, like the peacock ore, so I used Jacquard EX pigments. I just dry brushed them on. I used copper on the outer edges with a forest green in the mid section. Then I added just a touch of bold blue to the middle.
For the final touches of the wand, I found some brightly colored ribbon to criss cross between the two decorations. I hope this craft inspires you to make your own wand. If you do, please share pics, I'd love to see your creations!
Brightest Blessings,
Saga
Subscribe to:
Posts (Atom)