

Blessed Imbolc to
everyone!
I really wanted to make an altar decoration for this craft.
This is a larger piece and takes at least a week to make. The reason for this
is paper mache. You have to allow drying times. However, you could always take
the idea and make it your own way. Since Imbolc is celebrating the first signs
of spring, I wanted to create a piece that incorporated Brigid’s fire and
cauldron. In my mind I saw her fire inspiring nature to awaken from its slumber
and that’s what I have created.
Brigid’s cauldron overturned with her fire spilling on the
ground, as the fire moves along the spring flowers erupt from the ground.
Behind the cauldron scene, frost and ice on the ground, representing the scene
going from one season to the next. I chose the earliest spring flowers:
snowdrops, crocuses, irises, hyacinths. I used a battery operated set of small lights, attached underneath the base, to light the fire at night.
This craft has several steps and links to other tutorials
that I used for all of the pieces. You will want to make or gather (if you
choose to buy) all the items before assembly. Assembly takes 2-3 hours.
For a paper mache recipe you really just need flour, water,
and salt. Torn newspaper is better, not cut. When you mix the flour and water
together, you don’t want it real thick. Mix it to the consistency of a cream
soup. Just dip the paper pieces and run between your fingers before applying to
remove the excess. I used the base of a
pear shaped balloon for my cauldron. A more detailed paper mache cauldron tutorial can be found here: Paper Mache Bowl

After I finished applying the paper mache to my balloon, I then worked on the base. It will have to be finished in sections. I decided to use the lids from a few shoeboxes. They ended up being perfect. I taped two together like this to lengthen them. After I taped them together I put 3 layers of paper mache on the top. I let that dry overnight. The second pic is of a dry top. The next day I paper mached the underneath. That also had to dry overnight.


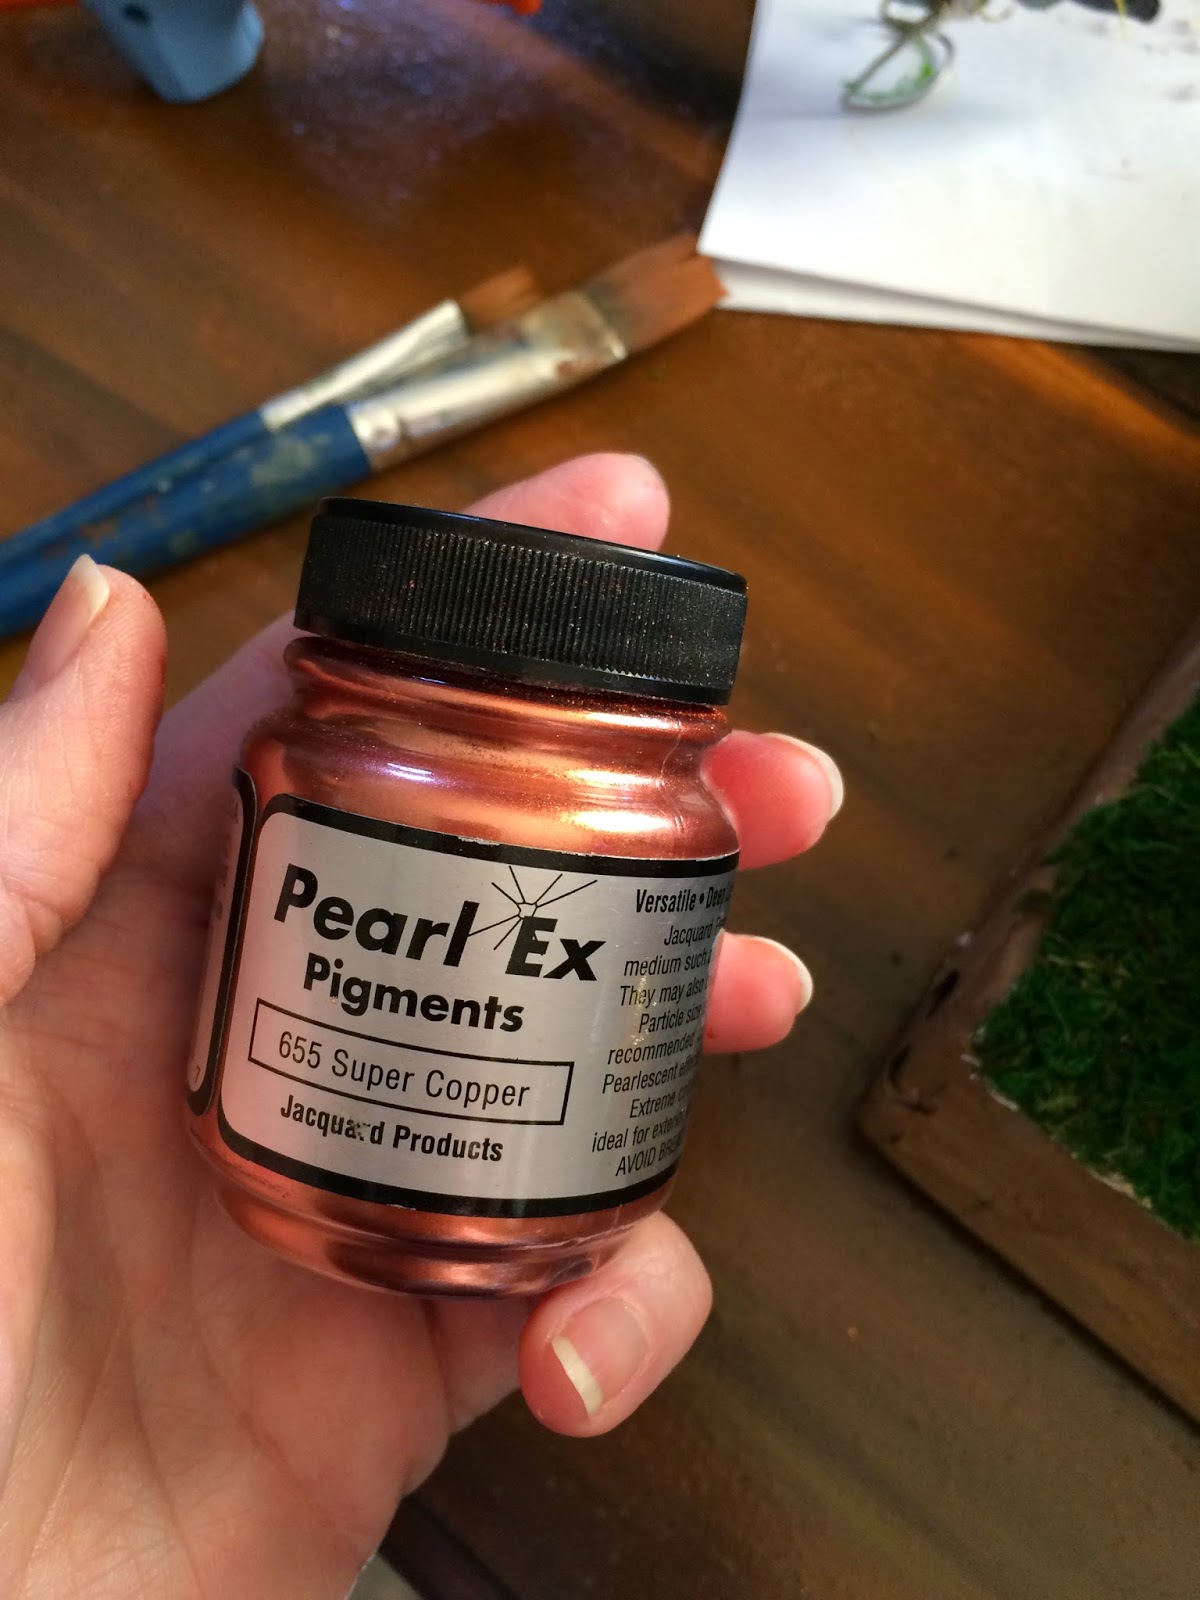
I did have to add a cup more toilet paper than it called for. It just wasn't stiff enough without it.


I wanted the cauldron to look as though it were made of copper. I base painted it brown and I highlighted the wrinkles on the mache in black.


I also cover the base in same brown and blended in a couple of other browns. A light brown and a dark brown. I wanted to give it the look of dirt. Let dry.


Another thing is that you will also want to start making your flowers at this time. If you don't want to make them, you can buy a variety of fake spring flowers. The tutorials that I used for my flowers are at these links. The flowers are all made from crepe paper, tissue paper, floral tape, and floral wire.


After everything is dry, you can start assembling. The first thing is to add moss. I bought some sheet moss and added it first. I decided to add it to the ends, letting some of the brown show through the middle, like dirt. Then I glued it down and trimmed the edges.


I then added some moss pieces here and there to make it look like a woodland floor.
Time to add the cauldron. Adding the cauldron and the lights takes quite a bit of work. First I glued it down to hold it in place where I needed it. I didn't feel like it was sturdy enough so I decided that I needed to do something to hold it better. I decided to go with a bolt, washer, and nut. I used a bigger screw to make the hole that I needed to go all the way through the layers. Don't press too hard, you don't want to tear your cauldron, it is just paper after all.


This is the underneath of the base after I attached the cauldron.

This is a picture of the bolt that I put in the cauldron. After it was installed I painted it like I did the cauldron. Even though the fire that I am making will basically cover it up, I still wanted it to match.


I mounted the pack underneath using hot glue. I put it all the way against the same end as the cauldron.

 To begin placing the lights, you will be able to use the nut on the bottom as a guideline for placement. The bolt is right where the fire in cauldron will be, so make holes all around it. Space them, but not widely. You will be make fire from tissue on each light.
Here are several placed around the bolt.

Continue taking your lights out of the cauldron. Your fire will be going across the earth to awaken it. The lights are going to spiral around two groups of flowers. I counted the lights and was able to use 7 per spiral and that left 8 to put in the cauldron and bring onto the ground to the flower group.

Here is a shot of the light placement from underneath.


You can then place your lights in the first spiral around the flower grouping. Place your next group of flowers . I placed the second group toward the opposite end in the corner. Take your lights around that group.


Now that the lights and flowers are attached you can make the fire! For the fire you need a variety of red, yellow, orange tissue paper.

Cut out squares for the cauldron fire a little larger than the ones for the spirals. Make the ones for the cauldron fire in 3x3 inch squares. You only need to cover each cauldron light with one piece of tissue.
Just put a bit of hot glue in front of a light, let it cool just a bit. Crinkle a square of tissue, uncrinkle and put it on diagonally. Shape to look like a fire flame.


Since you have them grouped in front of each other you don't have to encase each light. The grouping helps to hide the lights. For the spirals, you will want to use to squares for each light. You will glue one in front, one behind, and then twist them to look like a flame together at the top.

Continue around all the lights.

For the winter part of the craft, use pinecones. Place where you like them and then hot glue.


The edge of the base needs some moss added so that it all blends better. Glue sporadically around.

Put a bit more here and there to decorate the top around the flowers.

Keep going around the edge until you are satisfied with the look.

I had snow left over from Yule decorating and it is enough for my winter part.

Spray the pinecones and the moss behind the cauldron.


To give it an icy look I added a bit of DecoArt Twinkles on the end of the pinecones.

And with that your Imbolc piece is finished and ready for display!

Here is mine displayed in my home:

I thought that it would be fun to show you a couple of mistakes that I made while designing the project.
I ended up not being satisfied with the looks of these two things and changed them. I first had the fire going in a line right down the middle.

While it did look really pretty lit up, it was not how I envisioned the flames going. I removed the flames, and put the lights into the spirals, and that made it look much better.
The other mistake that I made was the winter scene. I had these fake winter branches. They looked cheesy. I decided that pinecones would look better and I removed the ugly branches.

Anyway, I hope you enjoyed the craft and that you are inspired to create one for your self. I made two and listed one for sale in my Etsy shop.
Brightest Blessings,
Saga